The principle: deciding on the result before touching the teeth
Digital smile design means planning the shape, length and position of your future teeth from photographs, video and an impression of your mouth, in relation to your face. The mock-up is the step that turns this plan into a temporary reality: a resin is applied over your teeth, without drilling, so you can see and try the result in your mouth. It is often described as a test drive for your smile.
This approach reverses the old logic. Instead of preparing teeth and then discovering the result, the result is defined first and validated with you, and only then is the necessary treatment decided. It is as much a communication tool as a technical one, used for dental veneers, front-tooth crowns and composite restorations.
Step 1: photographs, video and impression
Everything starts with precise, standardised information:
- facial photographs: front view at rest, front view with a broad smile, and profile;
- dental photographs: with lip retractors, teeth together and slightly apart, to see the edges and gums;
- a short video of you talking and smiling naturally. A spontaneous smile often differs from the one you put on for the camera, and it is the one other people see;
- an impression, increasingly taken digitally with an intraoral scanner, to obtain an exact model of your arches;
- a clinical examination of gums, enamel, existing restorations and bite, with an X-ray if needed.
This step also includes an essential conversation: what exactly bothers you? Colour, shape, gaps, length, symmetry? Bringing photographs of yourself when younger can help, especially if your teeth have worn over time.
Step 2: analysing the face and smile
The clinician then overlays aesthetic reference lines on the photographs. The main ones are:
- the interpupillary line and facial midline, which act as horizontal and vertical references to avoid a crooked-looking smile;
- the position of the incisor edges relative to the lip, at rest and when smiling. The amount of tooth visible at rest naturally decreases with age; restoring it often makes a smile look younger;
- the smile line: ideally, the edges of the upper teeth follow the curve of the lower lip;
- tooth proportions: the width-to-length relationship of the central incisors, their dominance over the laterals and the progression towards the canines;
- gum level and its highest points (zeniths), whose asymmetry may justify gum treatment;
- buccal corridors, the dark spaces at the corners of the smile.
These references are guides, not mathematical rules. The famous golden proportion, for instance, is debated: applied literally, it often makes lateral incisors too narrow. A good design respects above all your face, your age and your personality.
Step 3: from digital plan to wax-up
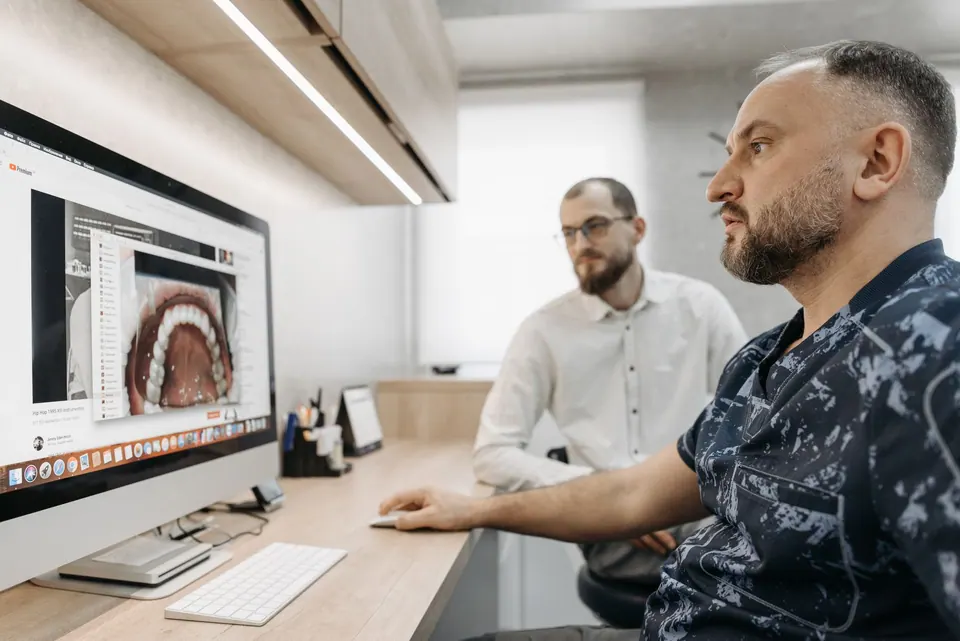
From this analysis, a proposed shape is drawn on the photographs and then translated into three dimensions: the wax-up, a model of your teeth on which the new shape is sculpted in wax or designed in software and printed.
The wax-up has two roles:
- to show the project in volume, which a photograph alone cannot;
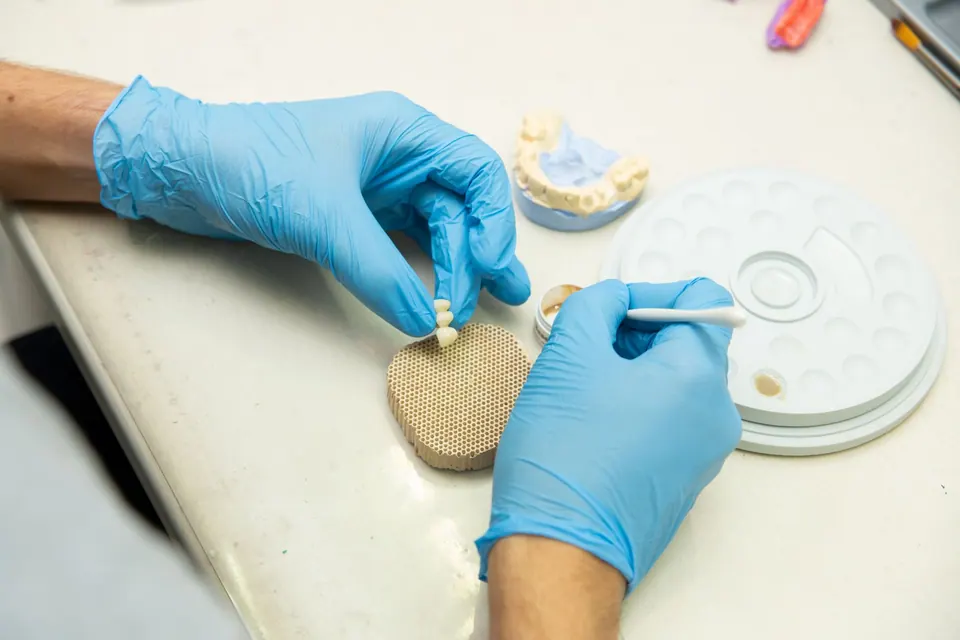
- to act as a mould: a silicone key or tray is made from it to reproduce that exact shape in your mouth during the mock-up.
At this stage, the design must stay realistic. An on-screen simulation can show anything, but in the mouth you have to account for available space, bite, material thickness and gum condition. A project that looks spectacular on screen may disappoint if it cannot be achieved without heavy tooth reduction.
Step 4: the mock-up, a trial in your mouth
The mock-up is usually done in one visit, with no anaesthetic and no drilling:
- the silicone key is filled with a temporary resin in the chosen shade;
- it is placed over your teeth for a few moments while the resin sets;
- the key is removed, excess is cleaned away, and your future smile appears.
You can then look in a mirror, smile, talk, pronounce sounds such as "f" and "v" that involve the incisor edges, take photos and videos, and ask for the opinion of people close to you. The dentist, for their part, checks length, harmony with the lips and the first contacts with the lower teeth.
If something does not feel right, it is changed: shortening an edge, softening a corner, adjusting a midline. A second mock-up after corrections is often useful. The mock-up is then removed easily, without harming your teeth, or kept briefly if the clinician advises it.
What a mock-up shows, and what it does not
A mock-up is a powerful tool, but its limits need to be understood to read it correctly.
What it shows well: shape, length, proportions, apparent alignment, the effect on the lips and how the smile fits the face.
What it shows poorly:
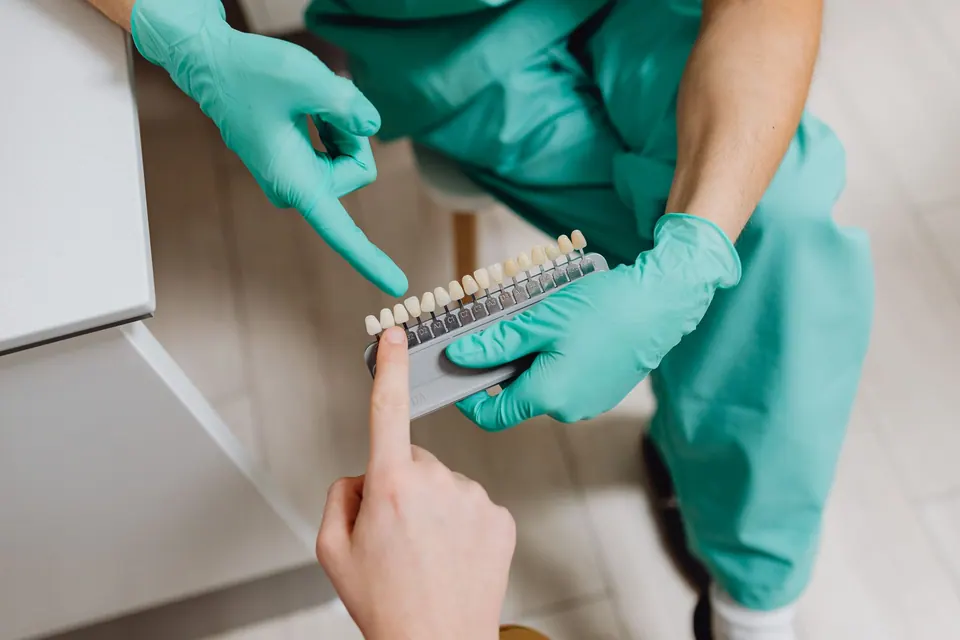
- final shade and translucency: temporary resin is flatter and more uniform than ceramic;
- exact volume: because it sits on unprepared teeth, a mock-up is often slightly thicker than the final result, especially if light preparation is planned;
- gum corrections: gum reshaping can be simulated on an image but not really in the mouth;
- major misalignment: if teeth are very out of line, the mock-up may reveal that orthodontic alignment is needed first.
One last, lesser-known advantage: once approved, the mock-up also serves as a preparation guide. The clinician can prepare "through" the mock-up, only where needed, which helps save enamel. When no preparation is required at all, the plan moves towards no-prep veneers.
Smile design in Rabat: how the first step works
To get the most from the process, come with a clear idea of what bothers you, but stay open to suggestions: the best result is often more subtle than you imagine. Be wary of the over-white, uniform smiles seen on social media; our article on a natural-looking Hollywood smile explains how to avoid that effect. Useful questions: can this be done without drilling, or with minimal preparation? Which material is planned? Can I see the mock-up again before deciding?
At German Dental Clinic in Agdal, smile design relies on photographs, a digital impression with an intraoral scanner and a simulation discussed with you before any treatment. Dr Fenjero Walid trained with European references in aesthetic dentistry. If you are in Rabat and would like to see what your smile could look like, book an appointment for a first consultation.
Frequently asked questions
Does a mock-up damage the teeth?
No. The resin is applied without drilling and is held mainly by the shape of the teeth and the micro-roughness of their surface. It usually comes off easily in small pieces without leaving a mark. In some cases, light final polishing is enough to restore the enamel to its original state.
Will the final result be identical to the mock-up?
The approved shape and length are reproduced as faithfully as possible, because the technician works from the same plan. The final ceramic, however, is brighter and more natural than temporary resin, and often slightly thinner. Small differences usually go in the direction of a more natural look.
How long can a mock-up be kept on?
A mock-up is designed as a trial, not a long-term temporary restoration. Depending on the clinician, it is removed at the end of the visit or kept for a few hours to a few days to test the smile in everyday life. The resin is fragile and can stain, so avoid biting into hard foods.
Is smile design only for veneers?
No. It is also used for front-tooth crowns, composite restorations, bridges and implant restorations in the visible area. It may even show that simple whitening, light reshaping or alignment with clear aligners is enough to achieve the result you want, without veneers.
Can a mock-up be done if my teeth are crooked?
Yes, but it may reveal its own limits. If a tooth sits well forward, resin cannot be added to move it back. The mock-up then highlights the value of orthodontic alignment first, which allows thinner veneers afterwards, or even makes them unnecessary.
The information on this page is general. Only a consultation allows a diagnosis and a suitable treatment plan.